Showing posts with label crayons. Show all posts

Saturday, March 16, 2013

Construct, Observe, Color

I mentioned a little while back that my saving graces this year have been my new work buddies and my Art 2 students. Yesterday was one of the best days this year and it makes me sad, no matter how tough it has been, that I may not be up at the high school again next year. I think there is going to be some major shifting around in our little art department. At the very least I will go back to the position that I had last year, teaching part time middle school art. I know my principal there said he will advocate for me. He reassured me that I shouldn't be worried, but nobody likes change. I will be happy to have the opportunity to keep doing what I love. And for that I am very thankful.


The images above are of a three part lesson/ unit about observation and color. This is one that I feel like I built from my own idea and am proud of the results. Traditionally, I have had eighth graders observe and study still lifes that I have constructed.


These two images are from the school where I first taught. The students are in tenth grade and I occasionally see a few at the school where I teach now. The student on the end (left) produced the image below of the white still life.


So, I took this idea and tried to step it up a little for my Art 2 students. Still life and value drawing are pretty big components of Art 1, but I didn't want to have them draw my boring old (literally dusty at this point) still lifes. I had the genius idea that with such a small class, only 15 students (!), I could bring in a bunch of recycled materials that I had been collecting and have them construct their own. There were egg cartons, paper towel tubes, broken down cereal boxes, cardboard scraps, bottle caps, newspapers, hot glue, scissors and tape. I demonstrated a few construction techniques and reviewed objective versus non- objective. Then I let students take off!

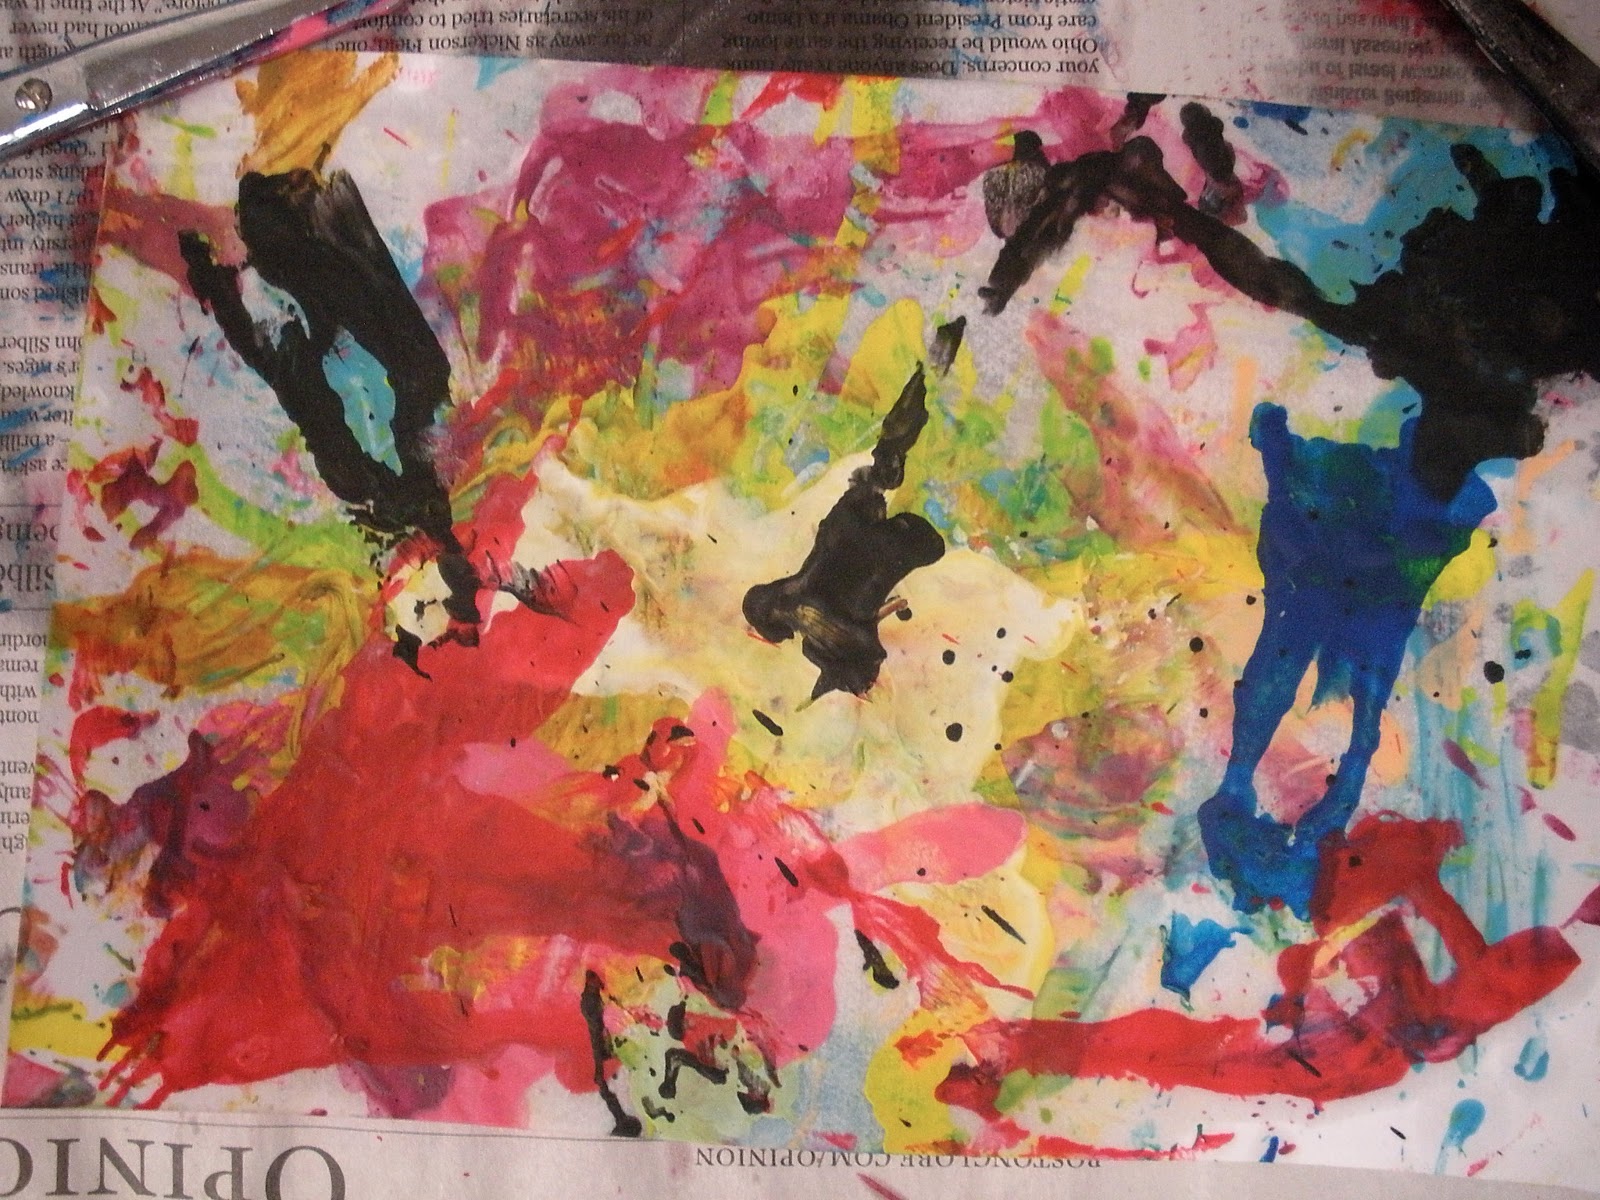
When the pieces felt balanced and complete, I had students spray paint them white. At first I had gesso, but many of the materials we used were very porous. It was like a sponge soaking up water, but the spray paint worked better to block the "pores" and cover the sculptures. Thankfully we have a vent, so we did not have to go outside.


I don't know why this is sideways, it is correct in Picasa! I get to share a pretty sweet classroom with fabulous prints and spotlights. The now white sculptures were placed under color lights and students completed at least three color studies with dry materials of their choice. If I were to do this again, I would try to find brighter color bulbs. I put them in clip lamps like the one pictured above in the front of the room, but they didn't shine very far. It was more like mood lighting. Plus, I didn't realize how much light came through the sky light, so there was not as much contrast as I had hoped for. 

As the last student finished up their sculpture and began the color studies, I reviewed color more in depth. I attempted to have groups of students become "experts" on different color schemes and then share with the class at large, but this group is not very vocal. I need to improve this part of the lesson, but I think the handout I provided was helpful.

Finally, students selected a color scheme and completed a long term acrylic painting of their sculpture in that theme. 


Sorry for the weird shadows. There were no lights in the display case.
When the painting was complete, students could paint their sculpture however they liked. I would maybe switch these last two steps. Initially I felt that keeping the sculpture white would help students see different values and then they could interpret that into color. I think that worked, but not for every student.

I have such a great group of students! There are a handful not pictured because they're still not entirely done. They are actually more of the objective pieces including a turtle, fish and wolf. What was great about this activity was that every student was successful in their own way, from the gifted student to the student with special needs. There was something for everyone, forcing some out of their comfort zones and causing students to look and think in a new way. I'm really proud of these kids and I can't wait to share some of their more recent work!

Friday, February 8, 2013

Creative Minds: New group, New ideas

We took a brief hiatus, but my Creative Minds group is back in session!
Its taken us a couple of weeks to get back into the swing of things though, perhaps due to the fact that I actually PLANNED activities. One Saturday morning, before my graduate classes started, I sat down with the schedule and planned out almost ten weeks' worth of activities. I then promptly made a shopping list and tried to procure everything we may need that I don't already have. Now that classes have started, I am really glad that I had enough foresight to plan. (Thank GOD for this snow day too, because I used most of it to read for grad school and prepare/cook in case we loose power) However the first couple "meetings of the minds" didn't go as smoothly as I planned, not that the kids cared!


Week One fell the week of MLK Jr.'s birthday. February also holds President's day, so I purchased the Mini Great Americans Murals from Art Projects for Kids. This activity was hit or miss. I had one or two who were really up to the challenge of a coloring page with oil pastels while others couldn't stand to get greasy. However, adults and students alike are amazed with the results. Our principal even wants to frame the finished products! But poor ol' Washington remains unfinished since enough students were thoroughly uninterested after the first page.
   Week Two was just a flop. Typically, I will take out a handful of materials, present a few ideas and let the students take off. If they want to complete the ideas I presented great, if they have other ideas for the materials, even better. We are "creative minds" after all!
Week Two was crayon based. I provided sand paper, crayons and irons to do prints and three hair dryer stations to melt crayons/ crayon "en-caustic." Everyone wanted to melt crayons, but I let the students who volunteered to peel crayons (not knowing what we were doing yet) go first. I had also hoped that the George Washington mural would get done, but after the previous week, I knew there was no interest. After a demo and strict safety speech, I had all three hair dryers going with teams of students helping each other for about five whole minutes. Then we blew a fuse.
While waiting for the custodian, I explained one of Week Three's projects in hopes to keep the preteens' attention. Thankfully most found themselves busy and under the kind custodian's suggestion, we kept it to two hair dryers plugged into different walls of the room. We were successful and while the kids had fun, I just laughed and hoped for better luck next week. 

Week Three was much better. Or at least I think so based on how engaged students were. Who knows, maybe they were bored out of there minds, but cool things happened from my point of view.

There were multiple painted paper options available, as the plan next week is to use the painted paper for various Valentine's Day themed crafts. We used the box tops that come with reams of paper and loaded them with construction paper and paint covered marbles. Old school "marbled" paper! I also cut up some paper towel tubes and showed students how to fold them into a heart shape for stamping. Finally, we brought back the hair dryers and kept it to two going at once. Below is a student's "en-caustic" after adding water color and dabbing with paper towel for texture. Can you tell his favorite color is blue?

"En-caustic" in progress. This student has a great eye for color. Ignore the smock... my boyfriend donated all his old plaid shirts to the art room.

Now that we seem to have our routine back, I am looking forward to what these folks create. I have grand plans for paper mache and perhaps some Chihuly inspired sculpture in between holiday crafts and silliness.

Monday, June 20, 2011

two weeks "free"

Its official, I am on summer vacation... for about two weeks.
This first week I will be getting ready for my school's first ever summer program. Back in April or so, I was asked, with my four summer's worth of experience as an art specialist, if I would be the Program Director. I said yes, flattered by the vote of confidence, but the more I thought about it, I realized just how much I am taking on.
So far, it has been a bit difficult to focus on organizing the program while wrapping up the school year, putting on an art show and teaching quality lessons. Ultimately, I am responsible for all of the children and employees. I think it is a great challenge, one that I am ready for, but definitely a "grown up" job (more so than teaching?) and I don't really know when I turned into a "grown up." 

I do know that come Saturday, I will really be on vacation. A few summers ago I drove down to Florida to visit my mom. Since then, I have not been on a vacation! I am very much looking forward to going to Ocean City, NJ with my boyfriend and his family. I think his mom is nervous that she has built this trip up too much, but I keep reassuring her that sitting on the beach with a good book, for a week, is just my speed!

____________________________________________________________________

The Last Days of School
The last few years I have done the same thing on the last day of art class. I know other teachers have their students help clean and pack away things, but I have so much "stuff" and, I've decided, a little OCD about my school "stuff," that I'd rather organize things myself and let the kids have a memorable last class.
So, we have a choice day.

Drawing Table
At the drawing table, I set out copy paper, "how to draw" books, idea cards, and a word game. Most of the younger students LOVE the how to draw books, and I really encourage them to follow the steps and not trace. Its wonderful when a second graders comes up to share how proud she is that she drew a pokemon all by herself. And for me, it reinforces the stress I put on learning the basic elements like line and shape.

Bad Hair Day/ Contour Name Design

With my elementary students, another center was the "Bad Hair Day" lesson I have seen on various blogs and websites. I left some simple directions and an example. I think it is a lesson I might do if I need a one day lesson. It was not too successful as a center.
For the middle school students, I changed this center to a contour name design. Again I left directions and an example. I had fun making my example, and I think the middle schoolers did enjoy the center. Basically, you write your name using block or bubble letters in the center of the page, then using alternating colors, outline your name and continue to do so, leaving some space between the outlines, until the entire page is full.

Crayon Transfer
This center took some time, and it was interesting to see who really wanted to put some effort in. Fifth grade boys LOVED this and the second graders thought it was magic!
  1. Fold a paper in half like a book.
  2. Color heavy and dark, randomly, with crayons on one half.
  3. Fold the paper back in half with the crayon on the inside cover of the "book" (this way, if words are written, they will transfer correctly)
  4. Using a pencil, draw a line design, a name design or a picture, making sure to use heavy pressure.
  5. Open the book and the crayon should have transferred to the blank page inside. 
Pictionary
Everyone seemed to love this center. In fact, I had to split most classes into groups so that everyone who wanted to play had a chance. Thankfully, for the younger kids, I had put some rules on the table: youngest to oldest to take turns, whomever guesses correctly is the new artist, make sure to have categories, or use the cards I wrote out. They loved being able to use my whiteboard. I have a table pretty close to the front, so that those not drawing knew they had to sit. It kept it nice and controlled.

Spin Art

Out of my 200+ students, only a few did not want to do this activity. A few years ago I picked up three battery operated pottery wheels, for free! So about once a year I take them out, and we use markers to make designs. I took out my class lists and called up two kids at a time. Students were told that if they asked for their turn, they would have to go last. And lo and behold, it turned out awesome! Everyone had a turn, everyone was entertained!

Meanwhile, I took everything off the walls, organized a few boxes in the closet and made piles to be gone through at a later time. After about an hour after school, my room was disassembled, with tables pushed together in the center and chairs off the floor. 

Monday, March 28, 2011

There Was an Old Lady Who Swallowed a Fly

I really enjoy reading to my younger students and taking our inspiration from books. Last week we read Simms Taback's There Was an Old Lady Who Swallowed a Fly. Then, following one of the lessons I found in 25 Terrific Art Projects Based on Favorite Picture Books, we drew our own illustrations. We talked about exaggeration and expression too.

  • First we followed some step by step instructions to draw the "old lady" on a 12x18 white piece of paper. We kept it simple, using "U" shapes, and we discussed different options for hats, shoes, and clothing, and how to draw them.
  • Next, we traced our lines with black crayon... I know it tends to flatten an image, but its a really appealing look for small kid's work. It also helps the artist, and the viewer, really see all the patterns and shapes she or he creates.
  • We then used crayon to color.
  • The next class, we started with a simple line drawing of a fly in the middle of an 8x8 inch white paper. Keeping in mind that the "old lady" swallowed the next animal to catch the first, we drew the spider around the fly, so the fly looked to be in the spider's belly. I drew on the white board and talked about the simple shapes and how many legs etc. Students drew all the animals, in order, around the one before, until there was no space left on the 8x8.
  • We started coloring again with crayons.
  • Finally, during the last class, we assembled our pictures, even if we were not done coloring. First, we cut out the animals, then the "old lady's" arms. (the horror!) We then pasted the armless "old lady" to a colorful piece of construction paper and pasted the animals over her belly. Lastly, we put her arms back! And they rested nicely on her full belly. At that point, I know we had all our arms and legs and animals, and we could all get back to coloring.


The lesson may have taken a few classes, and we only used crayon (the original lessons does a watercolor resist), but I feel like everyone was successful and proud of their work. AND, we had fun being silly! Its a nice lesson to drive home the fact that taking your time will result in good work. We also practiced cutting skills and following directions.