Showing posts with label tempera paint. Show all posts

Friday, February 8, 2013

Creative Minds: New group, New ideas

We took a brief hiatus, but my Creative Minds group is back in session!
Its taken us a couple of weeks to get back into the swing of things though, perhaps due to the fact that I actually PLANNED activities. One Saturday morning, before my graduate classes started, I sat down with the schedule and planned out almost ten weeks' worth of activities. I then promptly made a shopping list and tried to procure everything we may need that I don't already have. Now that classes have started, I am really glad that I had enough foresight to plan. (Thank GOD for this snow day too, because I used most of it to read for grad school and prepare/cook in case we loose power) However the first couple "meetings of the minds" didn't go as smoothly as I planned, not that the kids cared!


Week One fell the week of MLK Jr.'s birthday. February also holds President's day, so I purchased the Mini Great Americans Murals from Art Projects for Kids. This activity was hit or miss. I had one or two who were really up to the challenge of a coloring page with oil pastels while others couldn't stand to get greasy. However, adults and students alike are amazed with the results. Our principal even wants to frame the finished products! But poor ol' Washington remains unfinished since enough students were thoroughly uninterested after the first page.
   Week Two was just a flop. Typically, I will take out a handful of materials, present a few ideas and let the students take off. If they want to complete the ideas I presented great, if they have other ideas for the materials, even better. We are "creative minds" after all!
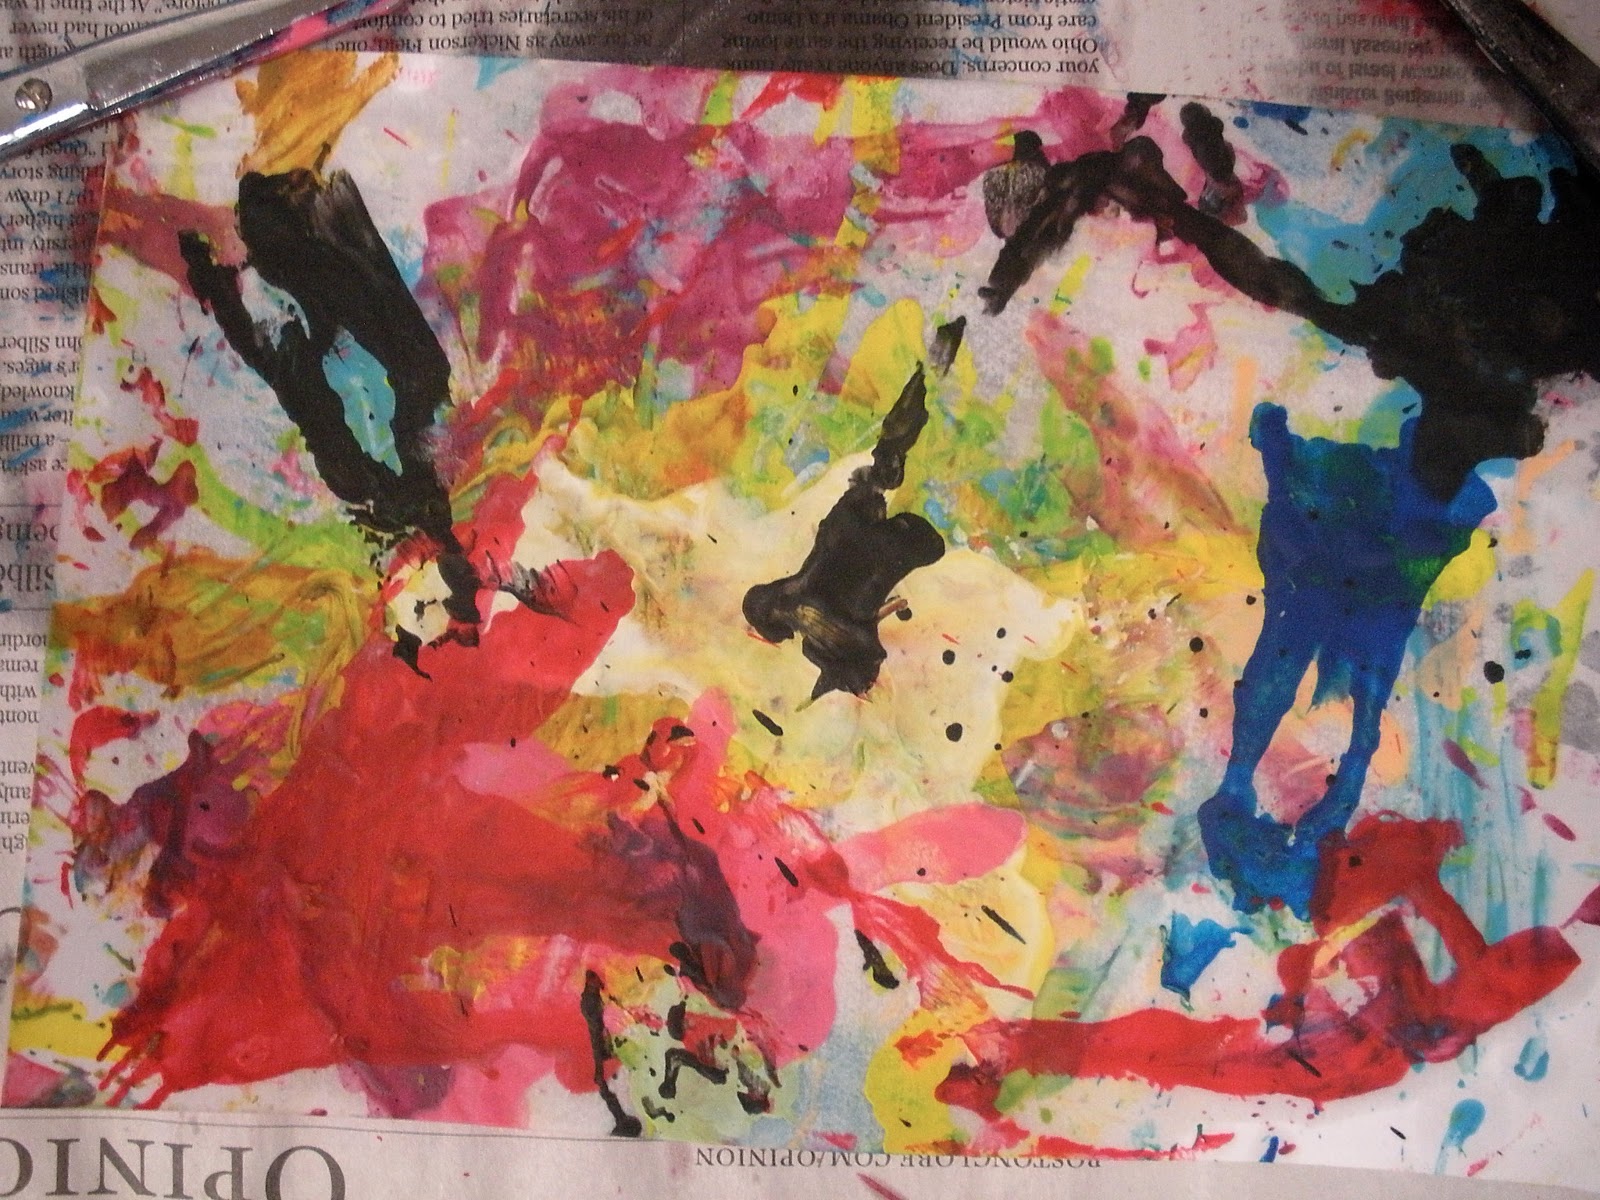
Week Two was crayon based. I provided sand paper, crayons and irons to do prints and three hair dryer stations to melt crayons/ crayon "en-caustic." Everyone wanted to melt crayons, but I let the students who volunteered to peel crayons (not knowing what we were doing yet) go first. I had also hoped that the George Washington mural would get done, but after the previous week, I knew there was no interest. After a demo and strict safety speech, I had all three hair dryers going with teams of students helping each other for about five whole minutes. Then we blew a fuse.
While waiting for the custodian, I explained one of Week Three's projects in hopes to keep the preteens' attention. Thankfully most found themselves busy and under the kind custodian's suggestion, we kept it to two hair dryers plugged into different walls of the room. We were successful and while the kids had fun, I just laughed and hoped for better luck next week. 

Week Three was much better. Or at least I think so based on how engaged students were. Who knows, maybe they were bored out of there minds, but cool things happened from my point of view.

There were multiple painted paper options available, as the plan next week is to use the painted paper for various Valentine's Day themed crafts. We used the box tops that come with reams of paper and loaded them with construction paper and paint covered marbles. Old school "marbled" paper! I also cut up some paper towel tubes and showed students how to fold them into a heart shape for stamping. Finally, we brought back the hair dryers and kept it to two going at once. Below is a student's "en-caustic" after adding water color and dabbing with paper towel for texture. Can you tell his favorite color is blue?

"En-caustic" in progress. This student has a great eye for color. Ignore the smock... my boyfriend donated all his old plaid shirts to the art room.

Now that we seem to have our routine back, I am looking forward to what these folks create. I have grand plans for paper mache and perhaps some Chihuly inspired sculpture in between holiday crafts and silliness.

Wednesday, December 12, 2012

Creative Minds Tempera and India Ink "Batik"


I always LOVE this activity!
I knew after the first meeting of Creative Minds that this group of kids could handle the long term dedication needed to see this to fruition. I first did this with a group of elementary school kids in preparation for our first ever "After School Art Show." The image above, of Venus fly traps, is probably still my favorite. (Side story, this student was in 4th grade when she did this. I then had her as an art student in 8th grade when I was finally hired in the public schools. I now see her from time to time at the high school. Side, side note, five years later after I no longer work for the program, the "After School Art Show" still continues each spring!)

So I probably found this idea over five years ago at Kinder Art.
Since then, I have done this with three groups of kids, two of which were after school art clubs. When groups only meet once a week, this can take up to a month to complete. So heres whats up:

  1. Plan a design. I typically talk about motif and random pattern. Some of the most interesting works have been just simple shapes.
  2. Draw the design on larger paper using chalk. I have always used the standard 12x18 manila, school grade paper. 
  3. Paint the design with tempera paint paying careful attention NOT to paint on the chalk lines. It is also a good idea to apply the paint heavily. Not so heavy it cracks when it dries, but heavy keeping in mind that some may wash away later.
  4. When the paint is dry, evenly cover with semi diluted India ink. Adding some water I think helps to wash it away later. When applying, be careful not to "scrub" the ink into the layer of paint. I typically use a 2-3 inch wide brush so that only a few lines of ink are needed to fill the page. Due to the staining nature of the ink too, I have kids paint at a station.
  5. After the ink is dry, run a faucet to warm water. Using a board to support the page, have the warm water run over the inked page. I have used lunch trays in the past. If needed, use a paint brush to gently remove the ink. I reiterate to students that the more wet the page becomes, the more fragile it is. So they need to be super careful when rinsing the ink. I also explain that the more they rinse, the more paint that is under the ink, will rinse off too.


A handful of my Creative Minds kids are at the point of needing to rinse the ink. Hopefully I will have more images tomorrow.

UPDATE:
Below are a handful of the final products.
Unfortunately, I think most of these are examples of washing off too much ink. In fact the student who created the first design told me that she felt like she washed off too much. Still a beautiful image though!


Water and fire

The seasons


detail of above

Monday, November 26, 2012

Fall Reflections


I've found this year that every once in awhile I need to throw in a one day lesson. Or at least vary it from long term (more than two classes) to short term activities with my middle school students. About two years ago I found this lesson on The Incredible Art Department and felt like it really fit in as a transition from printmaking to painting with a focus on nature, which upcoming in sixth grade.  

Before students arrive, premix a light blue. I made a big batch in a large yogurt container that has lasted for my five sections. Also, figure out how you will dispense paint. I used a method like you see below and use red, yellow, green and the premixed blue (tempera)

  1. At the beginning of the lesson, I have the word MONOPRINT on the board. I always start by asking what the prefix "mono" means. Usually one or two students knows that it means one. I then explain the difference between the prints we just did and what we will be doing.
    • This year, I am super lucky to have a document camera, so I got to do the activity along with my students. I went back to my old saying of "watch what I do, then you do it too." However, I also explained, that once I show students, if they have another idea, and its still within the materials available AND printing, then go for it!
  2. Fold paper in half like a hot dog.
  3. Add a land mass by painting above the fold. Before the paint dries, refold the paper and apply pressure.
  4. Add bare trees by using oil pastel heavy and dark. Refold the paper and use a popsicle stick to rub the paper. The pastel should "jump" to the other side.
  5. Add leaves and print as before
  6. Paint and print the sky in sections as the tempera can dry fast.


Saturday, October 27, 2012

Symmetrical Monochromatic Paintings 2012


(I cropped these in Picasa, but for some reason it didn't show up here. Sorry)

I LOVE this lesson.
So many kids are successful and I think they really have fun mixing the paint.
This year I attempted to talk about color, line and emotion, but since they took so long to complete, the idea got lost in translation. Original line choices and color were supposed to be based on an emotion.
I'm really proud of my students and hope that this lesson has set the tone for the remainder of the year.

Thursday, August 16, 2012

Scarecrows

When fall really starts to settle in, I realize how much I miss teaching elementary school. I don't think I ever even imagined myself teaching the little ones, let alone enjoying it! But there is something about experiencing their pure joy and uncensored imagination in the art room that is so rewarding. I hope to inspire my middle school kids to continue to enjoy art and use their imaginations. It can be a really turbulent time as a teenager, but art can be a great outlet.


Anyhow this fall lesson, again unearthed from my file transfer, is inspired by Not so scarey Scarecrows from Deep Space Sparkle. I did this my third year teaching, but had found Patty's website about a year before.

---side-note---
I am so thankful for the art teacher community created in the blogosphere! I did my student teaching at the high school level and there were five teachers in the building! It was also in a school that had been built within the last five years, had an amazing department head and equally awesome budget. Going from that to the only art teacher at a parochial school with not budget (that I knew of) two years later, was an adjustment to say the least! Finding people like Patty, Phyl and Mr. E. made me feel like I wasn't alone and encouraged me to provide the best art education I could. (And with the encouragement of Ms. Wilkinson (my college roommate), now at The Tale of a Traveling Teacher, I started my own blog during my third year)
------

This Scarecrow lesson was the first time I felt like I had taken an idea that I found online and really made it my own. And even more rewarding was how much fun these fourth graders had, class after class completing their assignment.


But now, two years later, I can't remember. What did we start with!?
I think we did a guided drawing the first week.
Yup, that's what we did.
We drew the face of the scarecrow, the arms/ shirt and legs however they would fit on the page. I drew different ideas on the board and had handouts at each table. I kept it simple, building on the letter 'U' and using horizontal and vertical lines. Students used black crayon.
Next we started with a plate of primary colors. We painted yellow things, then red then whatever was orange by mixing yellow and red. We followed the same idea with blue, green and brown. See More.

The next class, we used a bunch of the construction paper that had been sitting in the coat closet for years! It was faded and yellowed in spots but perfect for designing our "crops."

We again started with the primary colors and reviewed different types of line... zig- zag, curvy, diagonal etc etc. Students painted 3 (?) sheets. The next class, we tore the paper and "donated" half to the scrape bin, keeping the other half for the background.
Finally, we cut out our original scarecrows, glued them to the crop background and added some rafia for texture. I'm sure this lesson isn't original, even with the collage aspect I added. But it sure felt awesome for all of us to make something so fun! 


I think I took these photos pre rafia. Super cute none the less!

Tuesday, August 14, 2012

Symmetrical Monochromatic Paintings

Another gem from school years passed AND based on a lesson from Making Amazing Art.
I think these paintings were by fifth and sixth graders my second year of teaching, as a way to introduce color, value and balance.

1. Create a symmetrical drawing.
The original lesson called for an outline of a butterfly. I didn't want these preteens to be insulted, so we stuck to abstract, tessellated designs.
a. Fold a piece of paper in half hot dog or hamburger, and draw any kind of line that starts at the top and ends at the bottom. This was a great way to review kinds of line as well. 
b. Add five more lines to break up the two shapes. Remember to use a variety of lines to add more interest. Keeping the number of lines limited helps to not make the final composition an overwhelming design. (As it was, these took weeks!)
c. Re- trace all the lines heavy and dark with pencil.
d. Fold the paper in the opposite direction and apply pressure in order to make the lines "jump" to the other side. There are multiple methods to transfer the lines, but you don't want to spend a ton of time with retracing everything perfectly because painting takes the most time.

2. Pick a color and paint!
  • Make sure to introduce or review value and monochromatic color schemes. 
  • Remind students that for their paintings to be truly symmetrical, whatever value they paint in one shape, they must paint the corresponding shape the same value.
  • Demonstrate the process you want your students to use when mixing their own paint values and clean up procedures. 
In my room, each student gets their own "palette" or Styrofoam lunch tray and is responsible for their own materials. Tables are labeled by color and each are called to the sink by me. Clean up time has to be an orchestrated event for chaos not to ensue. My students know the routine and know my expectations. (And it took a lot of patience and learning on my behalf to figure out what works!) 

3. Retrace original lines in black if desired.